반응형
Logstash를 활용해 CSV 파일을 input 방법에 대해서 알아보도록 하겠습니다.
구축 환경 : windows 10 / RAM 32GB
절차는 다음과 같습니다.
1) conf 파일을 수정하고 > 2) 구동하여 ES에 적재하고 > 3) 데이터가 잘 들어갔는지 확인합니다.
1. conf 파일 수정
conf 파일을 다음과 같이 수정합니다.
- 아무 샘플 CSV 파일을 받아 지정 path에 넣고 칼럼명만 아래 배열 형태로 잘 넣어주면 됩니다.
# logstash-csv.conf

input {
  file{
  	 # CSV 파일 경로 설정
     path => "C:/elastic/logstash-7.6.0/csv/*.csv"
     start_position => "beginning"
  }
}

filter {
  csv {
  	  # 구분자 및 컬럼명 설정
      separator => ","
      columns => ["country","description","designation","points","price","province","region_1","region_2","taster_name","taster_twitter_handle","title","variety","winery"]
  }
}

output {
  elasticsearch {
  	# ES host 및 index 정보 설정
    hosts => ["http://localhost:9200"]
    index => "test_csv"
  }
}
2. 구동
ElasticSearch를 구동하고, Logstash를 conf파일과 함께 구동합니다.
C:\elastic\logstash-7.6.0\bin>logstash -f logstash-csv.conf
3. 확인
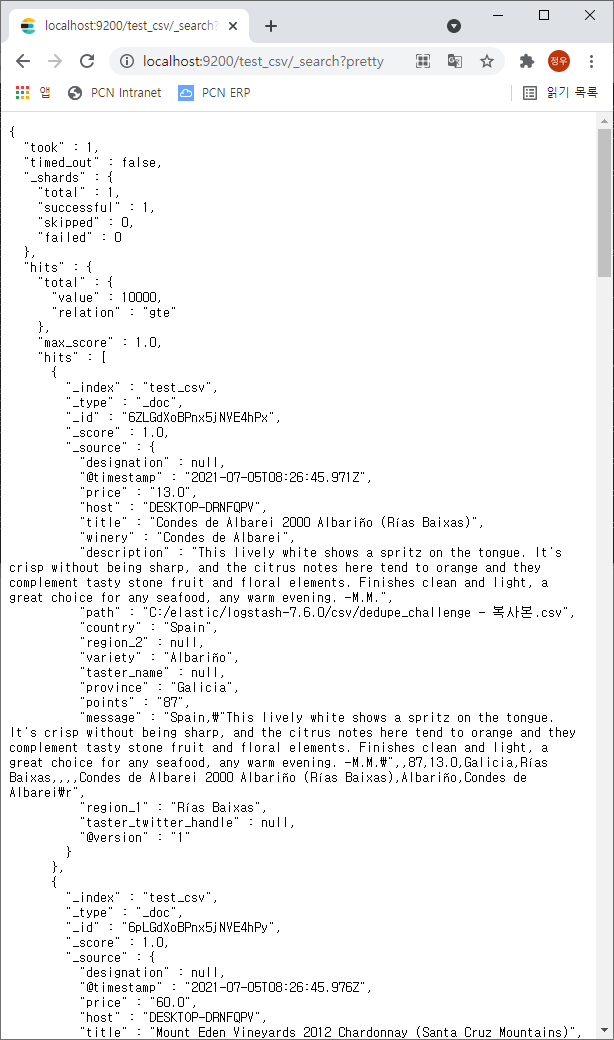
ElasticSearch에 데이터가 잘 들어갔는지 확인합니다.
http://localhost:9200/test_csv/_search?pretty
데이터가 잘 들어갔음을 확인할 수 있습니다.
이상으로 마치겠습니다.
반응형
'Big Data > Logstash' 카테고리의 다른 글
| [Logstash] 실행 (0) | 2021.07.05 |
|---|---|
| [Logstash] 설치 (0) | 2021.06.29 |
| Logstash-config.reload.automatic (0) | 2021.06.22 |


댓글